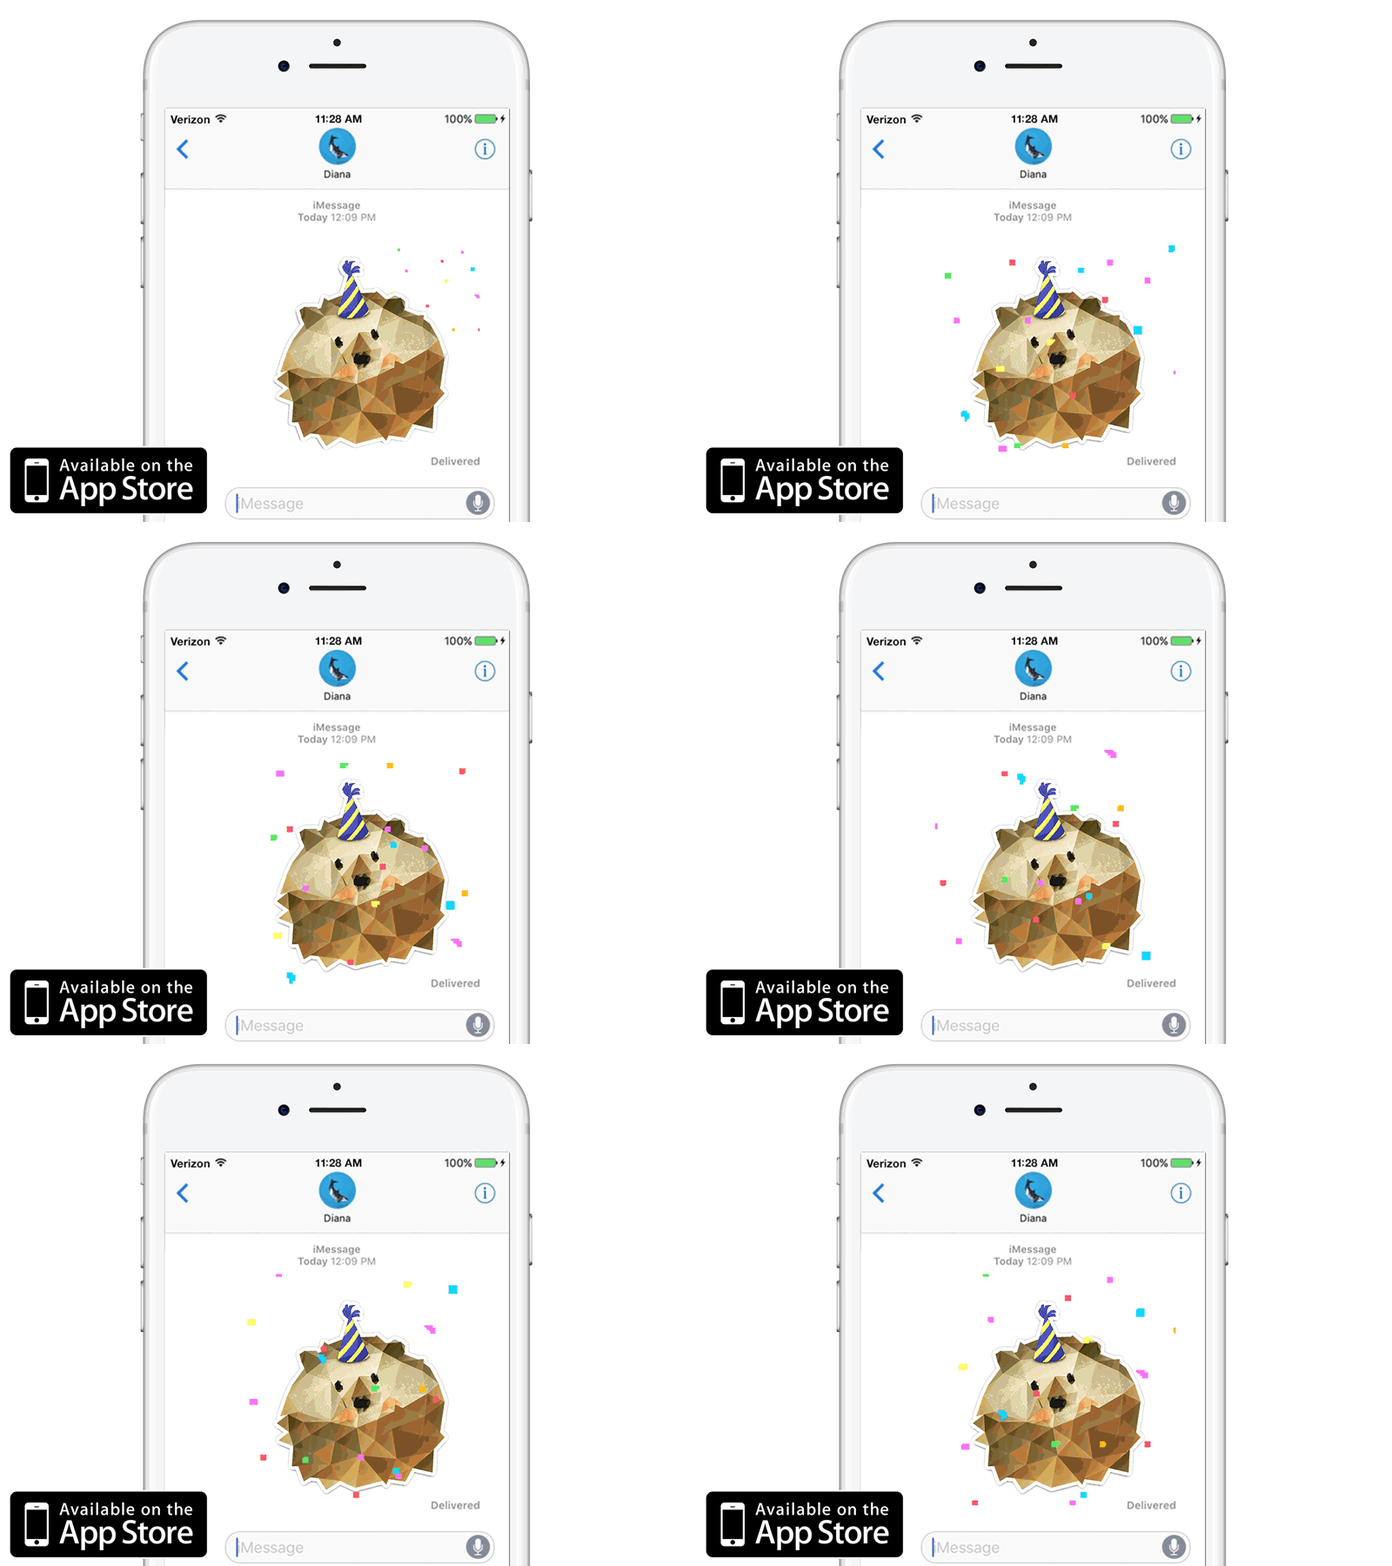
Heggy iPhone Application Promotion
Heggy iPhone App Promotion
Project Summary:
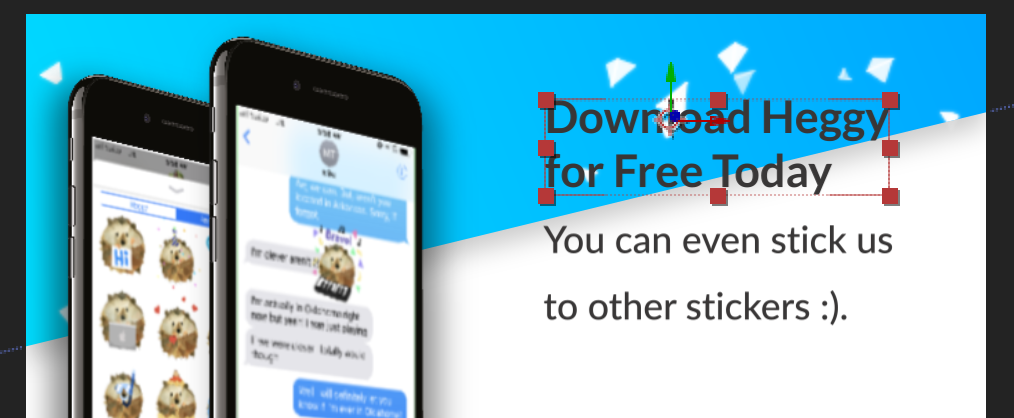
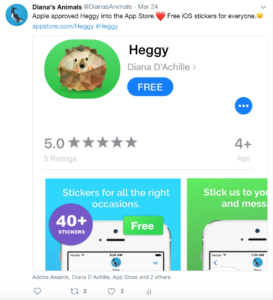
During the course of my Advanced Animation semester at Quinnipiac University I completed an iOS iMessage Sticker application called, Heggy. Heggy is a Free iMessage Sticker App available in Apple’s App Store. It includes over 20 free animated gifs that I created during the course of our semester. I credit my Motion Across Media class with Professor Golden to supply me with the knowledge to create the animations in my App.
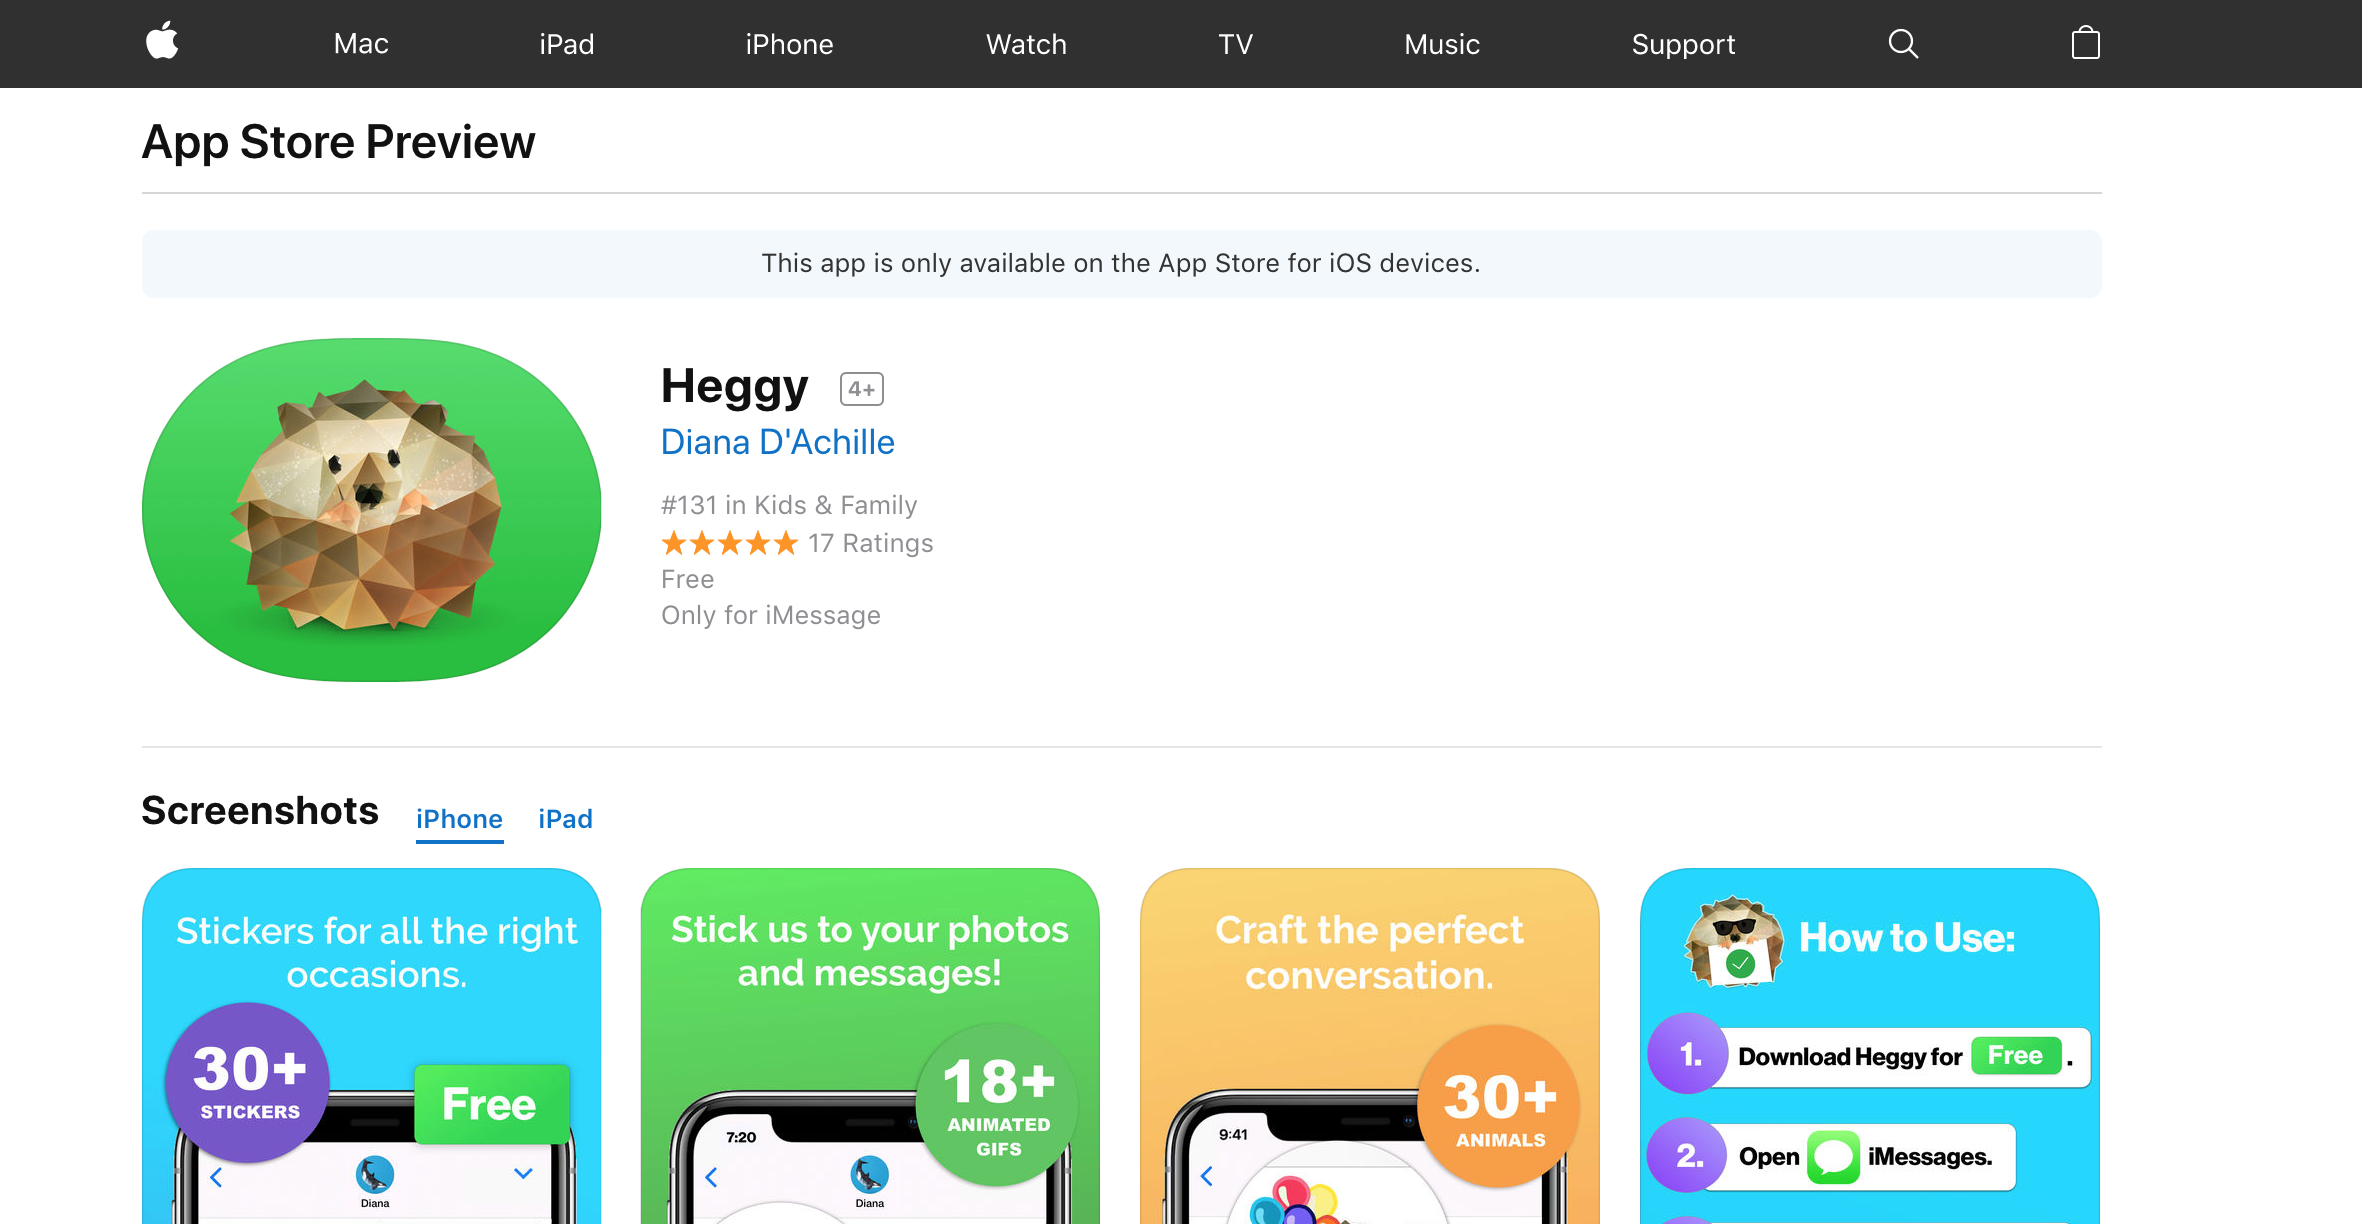
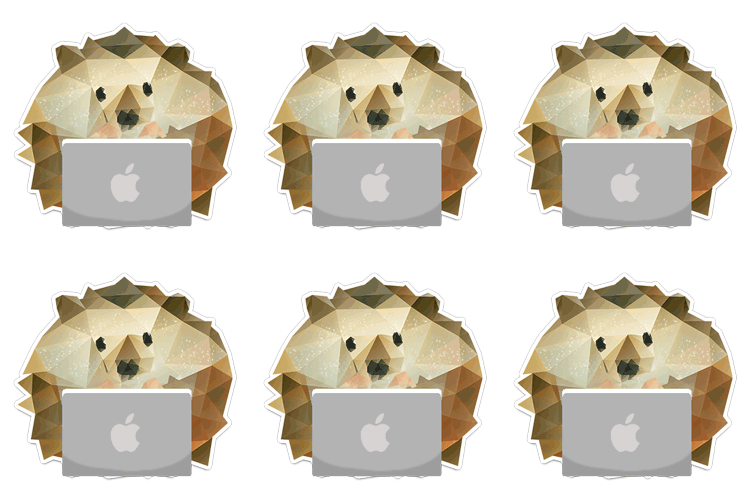
The Heggy Stickers were drawn in Adobe Draw with my iPad Pro, vectored in Illustrator and colored and textured in Photoshop. They were animated in Photoshop using the Frame by Frame technique we learned during Module 1. I used XCode to code my iOS application. You can learn more about the process to create an iOS Sticker application here or feel free to get in touch with me.
One thing that has been missing was a way to promote my Application. Written posts on Instagram, Facebook or Twitter will only go so far. For my final project I knew I wanted to complete a iMessage Application promotional animation. This would be a great way to bring in the skills I learned during the semester and also promote my Sticker Application to the public in an exciting way.
After doing research on the techniques for this module, App promotions and triangular animation I had a good idea of the direction I would take for my project. I wrote down my ideas and started making a storyboard.
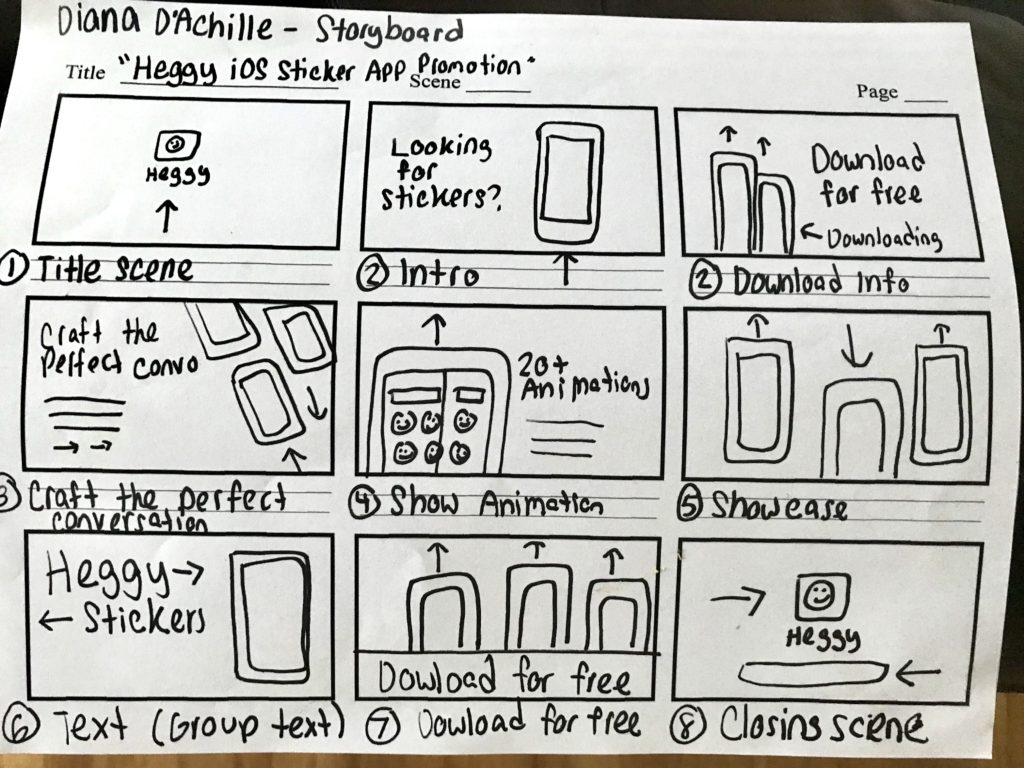
I found creating a storyboard for my promotional application was extremely necessary and helpful when it came to animating the messaging and devices. The combination of messaging and animation was key to my advertisement. If I wanted people to download my application, I needed to get their attention with messaging and eye-catching animation.
I broke my animation into Scenes. Each scene is its own pre-composition. This took some time to set up, but saved time and kept my file organized in the long run.
After watching Youtube tutorials specific to After Effects “effect panel” last module I had a better idea how to work with effects and key frames going into this project. I hit several road blocks, such as animating the messaging and device lockups at the same time, changing the color gradient behind the animated triangles and masking the overlapping animations. However, majority of these problems were resolved by a quick Google search. Seeing how other animators solved these issues as well as organized their composition and pre-compositions was very helpful.
I found that the reading this module helped me promote my work effectively. It might be hard to tell, I have a couple interactions occurring at the same time in my UI animation. Such as the device lockups, messaging and triangle animation. What I found useful during this project was creating multiple pre-compositions. This did not only separated my elements, but also kept my file extremely organized.
Overall I had a lot of fun with this project. My favorite part was concepting. After collecting my advanced animation inspiration from various sites and watching several Youtube tutorials I was ready to build on my ideas. Going into this project I had a lot of ideas, such as a virtual zoo or iMessage conversation. These ideas sounded good on paper, but would not fill the requirements as well as I imagined. Selecting a advanced animation that would showcase my work, skills I learned this semester and iOS application was a gratifying experience.
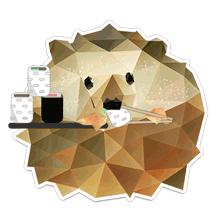
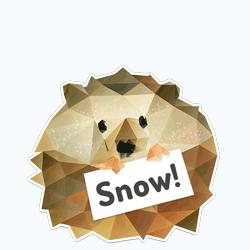
Heggy Stickers – I created my low poly hedgehog stickers in Photoshop and Illustrator. (Sketched on iPad Pro with a Apple Pencil)
Music – I wanted to keep the music serious and upbeat similar to Apple advertisements. I found the music on Youtube by searching for “Up beat instrumental background music”.
Sound Effects – I added sound effects that would go along with the text animations and confetti. I used ambient audio to give a sense of place.
Animation – I wanted to incorporate a few of the 10 principles of animation that we learned Module 8 as well as use some of the techniques we learned.


The Animated Gifs Included in the App
The Animated Gifs Included in the App
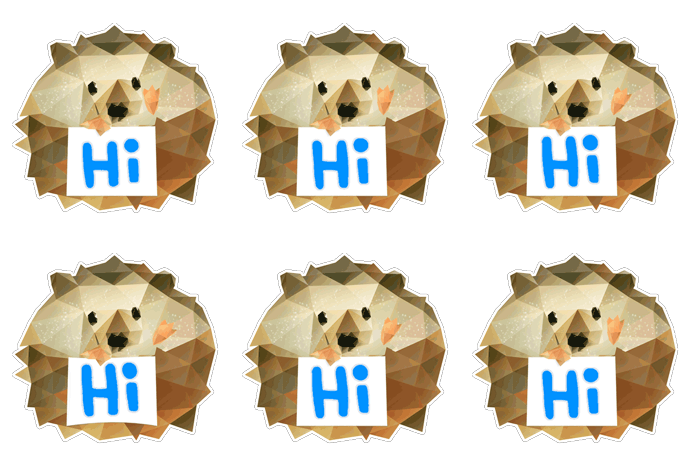
Below you will find the hedgehog GIFS I created during the semester included in my iMessage App. I created the hedgehog gifs in Adobe Draw, Photoshop, Illustrator and the iMessage Sticker Application in XCode.
The application includes a tab that includes static hedgehog stickers and an animated tab with animated hedgehogs. The animated tab was inspired by the material we covered in Module 1 on Animated gifs. I used the drawing and Gif Sketching techniques we learned in Module 1 to create the animated hedgehogs. This is where I used Adobe Draw on my iPad pro to sketch the rough draft of my hedgehog gifs. Sketching my hedgehog prior to creating the elements in Illustrator was a very important step.
If you have time to download and/or review Heggy that would be greatly appreciated. 🙂
If you are interested in learning more about iOS Sticker Applications feel free to contact me here. 🙂



Chapter 10: Show and Tell
Chapter 10: Show and Tell
Chapter ten called “Show and Tell” was all about creating, networking and sharing your work. It was a great chapter to understand how I can distinguish my work from other animators and finding the right audience to market it to. The first paragraph gave me a sense of relief as well supplied me with the motivation to market my animated projects in the appropriate market. Liz Blaze discussed that we have the opportunity to make our work seen like never before this time in history. The internet has the power to expose our creative projects more than ever before this time in history. She explained how every animated story has the potential to become a hit and embed in our culture. I thought it was wise of Liz to discuss the cabel networks battling digital players such as Netflix, Amazon, and Hulu within her introduction to chapter ten. Often times we recognize the power of the web, but often forget competition ahead of us.
How to tell the public about the story of your animation:
Step 1: Package Your Project
Create a working link that’s ready to be shared.
Title Logo and Still: Design a clean logo for the title of your project.
Synopsis: Write a clear description of your project.
Director Bio: Write a bio for what you want to be known as professionally, followed by your accomplishments that support your role.
Story of the Film: Finally you need to have the story of your films creation written out and memorized for future interviews.
Step 2: Creating your Network
Networking, Online Version:
Network online to connect with amazing people around the world.
Networking, Human Version:
Network in person at industry events.
Share and repeat:
Be professional and invest in your targeted audience.
I really enjoyed reading Liz Blazer’s Animated Story Telling book this semester. It gave me a comprehensive look at the filmmaking process while executing my weekly assignments. It was kind of like having a mini film school in the palm of your hands. Furthermore, Liz’s book gave me a clear path to thinking through and clarifying my creative projects. I would highly recommend Liz Blazer’s book to anyone in or interested in the animation field. I plan on referencing her book and following her processes for my future projects. Thanks Liz!
You can also network with Liz Blazer in her Facebook Animated Storytelling group or find her at www.lizblazer.com
Animation Inspiration
Advanced Motion #1
This was probably one of the most informative 3D Animation tutorials I came across during my research phase. Ian Robinson starts his tutorial by explaining the difference of 2D and 3D. Furthermore, he provides side by side comparisons of how they are created. Learning to not only create something that is 3D in Afters Effects, but 2D was very inspiring and helpful. I would highly recommend anyone interested in learning more about 3D Animation to watch this video. You can watch Ian Robison’s complete course online at Lynda.com. The course is 11 hours and 2 minutes long and explores the world of motion graphics, keying, and compositing in After Effects CC.
Advanced Motion #2
Learning about Motion Tracking was very useful advanced animation technique. I found this tutorial demonstrated how to motion track an object/video to a piece of footage in Adobe After Effects 2017 super effective. Prior to coming across this video I heard of “Motion Tracking”, but was not 100% aware of it’s capabilities. Motion tracking, also known as motion capture is the process of recording the movement of people or objects. This video is inspiring to me, because it makes the process seem much less intimidating. I plan on keeping this tutorial handy for future inspiration and guidance.
Advanced Motion #3
This animation has so many elements I like about it. The device animations are in sync with the messaging, the music goes well with the storyline and the colors it uses are eye-catching. This animation gave me a great idea how to prepare my storyboard and final project. Working with UI interfaces is such a fun element to animate and this promotional animation does a great job showcases.
Advanced Motion #4
I found this YouTube video by extremely inspirational and valuable. Henry Dickinson discusses the best practices for business promotional videos. Furthermore, he discusses the step by step process he took to create his promotional video. His video gives off a real and genuine vibe, which is what I like about it the most. Producing a promotional video like his is fairly straightforward, however a well thought out storyboard and script was mandatory to tell his story.
Advanced Motion #5
During this module I was really curious and intrigued how animators brought 2D (and 3D triangles in this case), into their animation. I knew for my final project I wanted to bring in multiple techniques and knew triangle motion would be one if them. This movie trailer brings in three dimensional triangles to their title pages in a beautifully eye-catching motion. The depth of field the triangles take on in this animation is incredible.

