Image Optimization
Publishing optimized high quality images is critical to the success for many sites on the web. In fact, according to eBay, each professional product image that is added to a particular listing increases sellers’ percentage of making a sale by 5%. Images matter in e-commerce. When used effectively, they can convey vital information about a product, and can help drive sales.
One of the biggest drawbacks of having high resolution product imagery is that it can slow down page load times. Compressing images effectively is an important skill as a visual designer and is one of the best ways to reduce the file size. Page speed is one of Google’s mobile ranking factors, so it is important first of all for the user experience, but also for SEO. The product description page (aka the PDP) is an important step in the sales flow to showcase our product. This is where our customers determine if a particular product is worth purchasing and should never be overlooked.
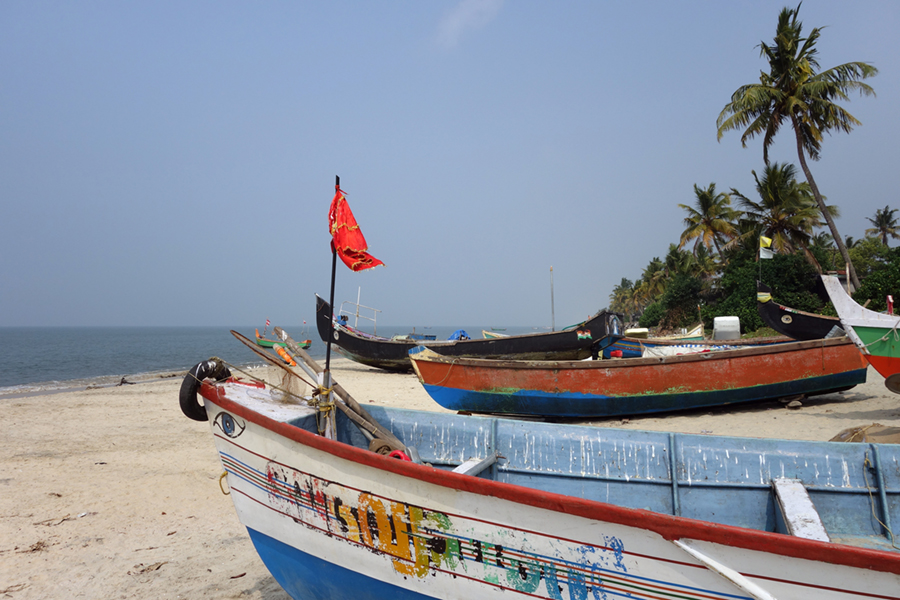
Before Optimization
Getting Started
After I conducted research and reviewed the links Professor Akselsen provided for Module 4 I was ready to get started. I downloaded all three of Professor Akselsen’s images to determine which one I would use for my assignment. After reviewing the photos, I decided to move forward with the South India image since it had the highest byte size (443,117 bytes). After I selected my image I downloaded an image compression application called ImageOptim recommended in our module. ImageOptim removes bloated metadata by compressing imagery without losing quality.

Observations and Process
It was evident that this image had great pixel ratio quality. Although, it was beyond the retina display size and quality necessary for my site. From observing the image details on my mac I was able to determine my following steps to optimize the image. Optimizing this image for my site will not only allow my site to load quicker, but also reserve more space on my hosting platform, Dream Host. This photo was only 900 x 600 pixels, but had an astonishing size of 443,117 bytes!
Below are the specs I collected from the South India photograph:
Dimensions: 900 x 600
Device make: Sony
Color space: RGB
Kind: JPEG
Size: 443,117 bytes
These are the following steps I took to optiminize the South India image:
Step 1 – Imported image into Photoshop
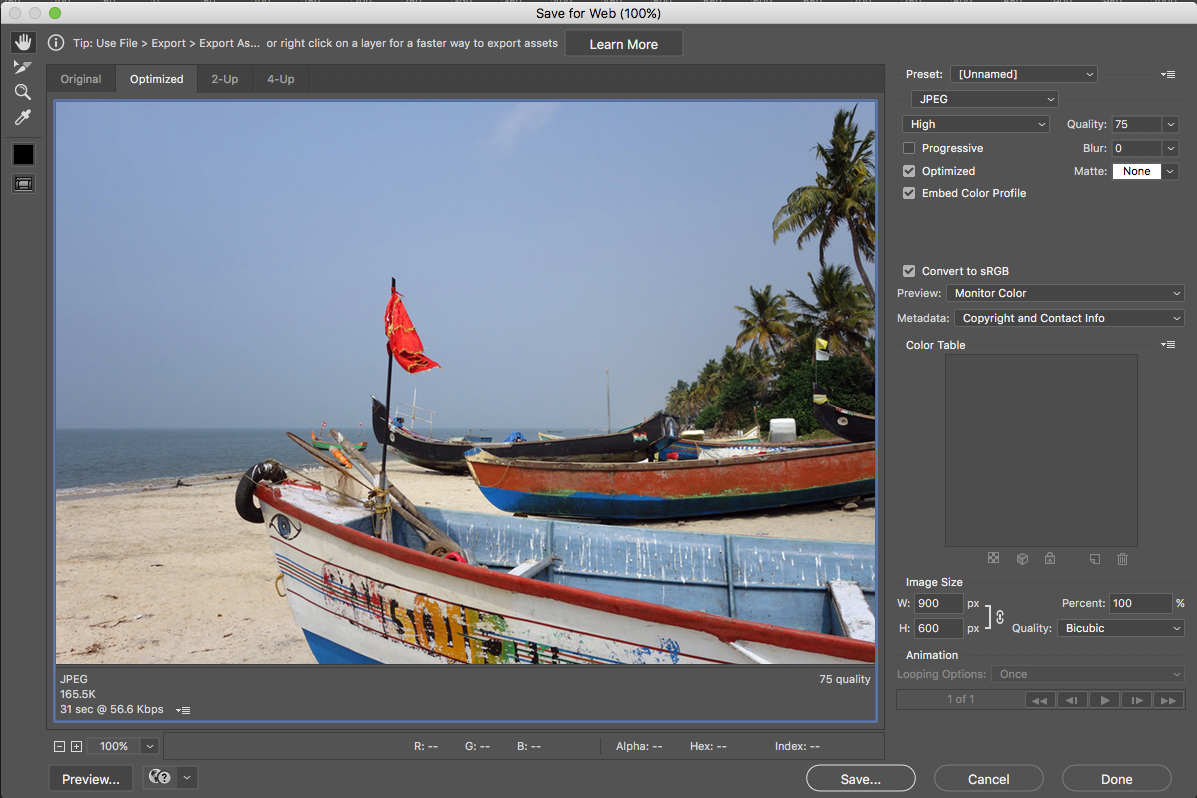
Step 2 – Export image from Photoshop (File > Export > Save for Web (Legacy)…) / 75% Quality

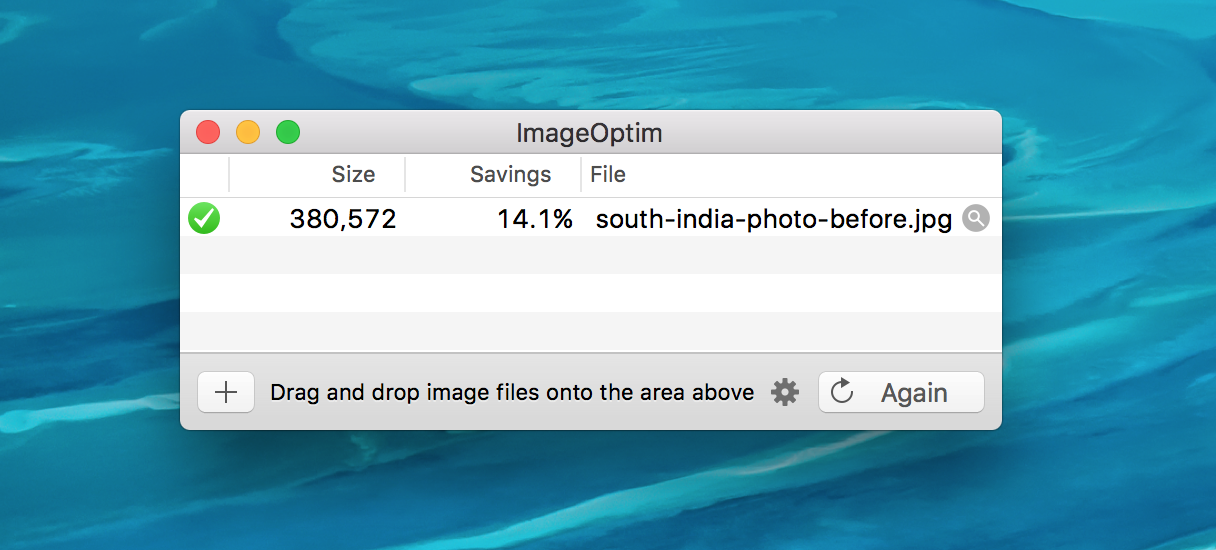
Step 3 – Dropped image in ImageOptim to remove additional bloated metadata without losing quality.

Step 4 (If applicable) – Resize image if your result after taking these steps have not condensed your image to liking. First, find out what size your image is/will be displaying on your site. Next, resize your optimized photo to double the size of what your image should be displaying on your site. This will ensure your image is optimized for retina display and is condensed for the web.

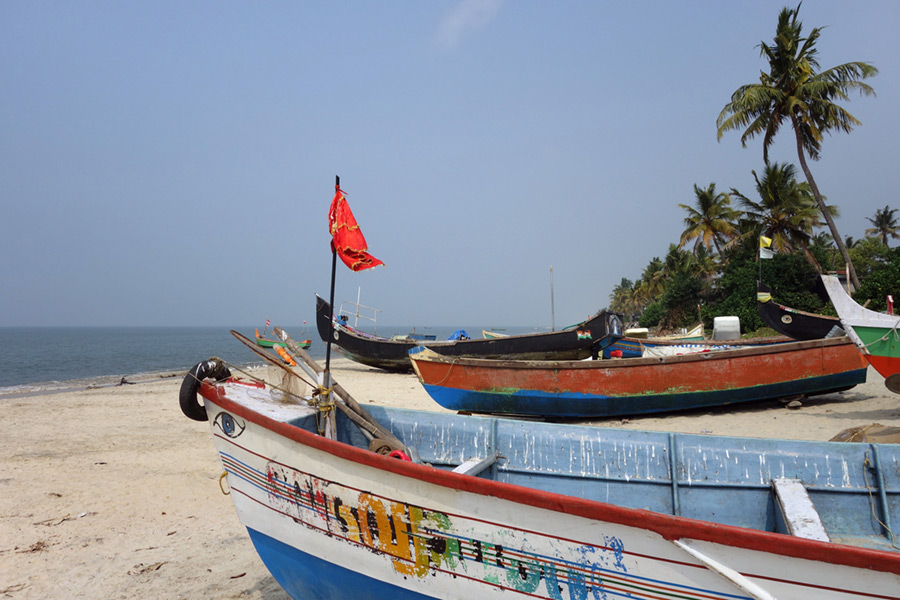
After Optimization

Results
I was able to reduce the South India photo to 158,279 bytes without resizing the image. That’s over 280,000 bytes less. The best part is that the image will still display in retina on my site and has not lost any visual quality. If you want to reduce your image more, I would recommend taking the same steps with the original image, but change the Save for Web quality setting to (74-65%) or consider taking step 4 if you haven’t already done so. It is good to note that it is very easy to lose an immense amount of pixel quality without realizing.
After completing my assignment, I showed my mom my before and after image. I showed her the before and after image to see if she could pick out the image with over 200,000 bytes less. Her initial reaction was, “Diana this is a trick they are the same image.” After I received my mom’s feedback I briefly explained how I optimized the before image. She was amazed that the result was not visually apparent. Although, I could have reduced the image more it may have been more obvious to depict the before from the after photo. My mom’s answer was exactly what I was hoping to hear and verbally confirmed I didn’t over do the process.
Tip – If you think you have gone too far with the Save for Web qualities, keep the original photo handy for a simple compare and contrast! That way you know if you have over optimized your imagery.
Below are the new (optimized) specs I collected from the South India photograph:
Dimensions: 900 x 600
Device make: Sony
Color space: RGB
Kind: JPEG
Size:158,279 bytes
Alternatively, you can optimize your image by converting it to vector or SVG (Scaleable vector graphic) by following these tutorials, Convert you Imagery into Vector with Illustrator, Convert Image into SVG.
