Chapter Two: Storytelling
Chapter 2: Storytelling
Liz Blazer’s opening paragraph for Chapter 2 was both inspiring and home-hitting. She explained that anything is possible and anything goes in the world of storytelling. She expresses, “Storytelling breaks the rules of gravity, tosses aside the space-time continuum, invents impossible worlds, and takes your audience on a journey simply with shapes, sounds, and colors.” I like that she gives multiple perspectives and touches on some of our five senses, sense of sound, sense of sight, sense of touch, sense of taste and sense of smell. Eliza also briefly touched on “history” in her opening paragraph. History is such an interesting variable in storytelling. You can tell a story from the past or the future no matter what date of time it is. There certainly is a lot to love about storytelling as Liz Blazer mentions, your imagination is the limit.
After the first paragraph of Eliza’s storytelling chapter she started to get into the subject matter deeper. She introduced two story telling-models that I was unfamiliar with, Standard Storytelling Model and the Non-narrative Story Telling Model. She emphasized, “The great challenge is more about disciplining yourself to reel it in and be intentional about your storytelling choices.” Meaning, it was more about how much discipline you exercised in limiting your choices than creating a mind-bending world. I was determined to use this piece of advice through the process she walked us through next on the Standard Storytelling Model and Non-narrative Story Telling Model.
Liz Blazer Three-Act-Structure was a lot of fun to read about. Learning about the Three-Act Structure within the Standard Storytelling Structure was both informative and inspiring. I noted the steps that Liz provided below for keeps and areference.
Three Act-Structure:
Step 1 – On a stack of (15-30) cue cards, go ahead and write down/sketch out all of the moments that move your story along until the conclusion. (Each card should represent an active step or beat in the storyline and can be both physical and/ or emotional.)
Step 2 – Place those on the wall in chronological order in three separate rows. These three rows represent a traditional three-act storytelling structure,
Step 3 – (Three-Act Story Structure) – 1. A character has a problem, 2. The character works towards a solution, 3. The character solves the problem, usually in a surprising way.
Step 4 – Next, create a fourth row of “additional beats.” You’ll put cards here that either don’t fit into your structure or that you simply don’t yet know what to do with (and which you may never use).
Step 1 – Begin with Inspiration – Identify a point of departure (such as sound, image or an idea)
Step 2 – Build Structure – Book ending, The Countdown, The Puzzle, The Beaded Necklace.

Chapter Three: Storyboarding
Chapter Three: Storyboarding
Liz Blazer’s Chapter 3 is all about building your visual script. Your visual script also known as storyboarding is used to solidify your story before animating. Liz Blazer mentions that Walt Disney uses storyboarding to save more than a few bucks and it is suited for Mr. Disney’s natural showmanship. I enjoyed reading how Walt Disney used storyboarding during the beginning of Chapter 3. I thought it was nice reading that the Disney sketches excited people from the team of artists to potential investors. I can see how this can be an essential process. Liz Blazer says, “ Storyboarding is your opportunity to work out the visual elements that best suit your story.” Storyboarding will save time, money and get will get your team excited.
Thumb-nailing – Are the first rough sketches of your storyboards. They help you work out the sequencing of your “shots” and provide an opportunity to establish important aspects of staging, framing, scale, and transitions.
Storyboard Recap
1. Vary Your Shots Responsibly: Utilize different-sized shots to enhance narrative logic and drama.
2. Framing & The Rule of Thirds: Keep shots interesting by placing subject off-center.
3. Staging: Block elements to create visual and conceptual hierarchy.
4. Spatial Continuity: Make sure frames are consistent with the physical world you’ve created.
5. Temporal Continuity: Make sure frames are consistent with the story you’ve been telling.
Animation Inspiration
Ideation Phase
The tutorials Professor Golden supplied for Module 2 helped me understand the steps necessary to create a strong and successfully composed cinemagraph. A cinemagraph is a technique of blending the effects of images and videos together. It was introduced by Jamie Beck a New York fashion photographer, in collaboration with motion graphics designer Kevin Burg. I started my cinemagraph journey by analyzing the cinemagraphs at cinemagraph.com. Most of the cinemagraphs at cinemagraph.com used liquids such as wine pouring out of a bottle, light such as a fireplace or wind to create a cinemagraph. I found some pretty cool ones under the Travel category that used the foreground, background, Professor Golden talked about in our Module’s overview video. I was also pleased to find an assortment of inspiring cinemagraphs on fixel.com, gallereplay.com and dribbble.com. It was not until I did some digging for the artists behind the cinemagraphs at cinemagraph.com that I realized these beautiful cinemagraphs belonged to the inventors of the medium Kevin Burg and Jamie Beck.
Prior to watching the videos for our Module I had a lot of ideas for our “Create” phase. Such as, playing fetch with my dog outside, running on a treadmill. Don’t get me wrong these ideas can be accomplished to make a cinemagraph. However, after understanding the requirements of a cinemagraph my perspective has changed. One of the biggest things I learned was that a cinemagraph is only a few seconds long and MUST loop. If those two requirements are not met your cinemagraph may appear to be a long video clip, rather than a cinemagraph. Given the fact that a short clip that loops is a necessary component for a cinemagraph, I decided to think smaller in secs rather than large. What can I record that loops repeatedly and would be original?
Animation #1 - Foreground, Middle Ground, Background

By Kevin Burg and Jamie Beck. (Inventors of the cinemagraph medium)
This cinemagraph does a great job capturing the foreground, middle ground, and background, Professor Golden talked about in our module video. The imagery/video quality is also very well done. You can tell that the cinemagraph artist thought a lot about the composition before executing the shot. The cookie and hand does not show any signs of being masked or cropped to blend the effects of the imagery and video together. I think that this is a very good example of a successful cinemagraph. Knowing more about the process of a cinemagraph has made me appreciate these simple yet well designed cinemagraphs. This cinemagraph was created by Kevin Burg and Jamie Beck. (Inventors of the cinemagraph medium)
Animation #2 - Food Levitation Cinemagraph
I came across Vega Bund’s (@Vega.bund) levitating pancake cinemagraph on YouTube. It was unlike any cinemagraph I came across during my inspirational cinemagraph hunt. The combination of fantasy and cinemagraph worthy syrup made for an excellent composition. It was really neat to see how Vega completed his cinemagraph from beginning to end. Inorder for him to capture his pancakes and syrup floating above the plate, he manipulate his images/video in Photoshop using the masking tool. With the masking tool he was able to remove the clips, books, bowl and box he used to prop the pancakes in the air. As you can see from watching his video there were no clear strings or clear clips holding the pancakes. Everything he used to hold up the pancakes was edited out of the shot quite easily using the masking technique. After watching Vega Bund’s tutorial I decided to give the levitating food cinema graph a try for myself. Scroll down below to check it out. You can watch Vega Bund’s tutorial above to learn how you can levitate syrup and pancakes too.
Animation #3 - Cinemagraph by Drone
Drones, drones, drones. Something that was on my mind a lot during my research phase. Can a drone capture video and photos to make a cinemagraph’s? Surprisingly they can. Thanks to ever-improving control technology it is possible to fly your drone extremely stable in the air. Drones are build with gyroscopes in them that you can program to stabilize the drone. This video by We Talk UVA shows how he used his drone to capture video and still shots for his cinemagraph. I found the information about drones and real life cinemagrph examples very inspiring. My dad owns the DJI Mavric Pro. He was nice enough to allow me to borrow it for this project. 🙂
Animation #4 - Trending Cinemagraphs
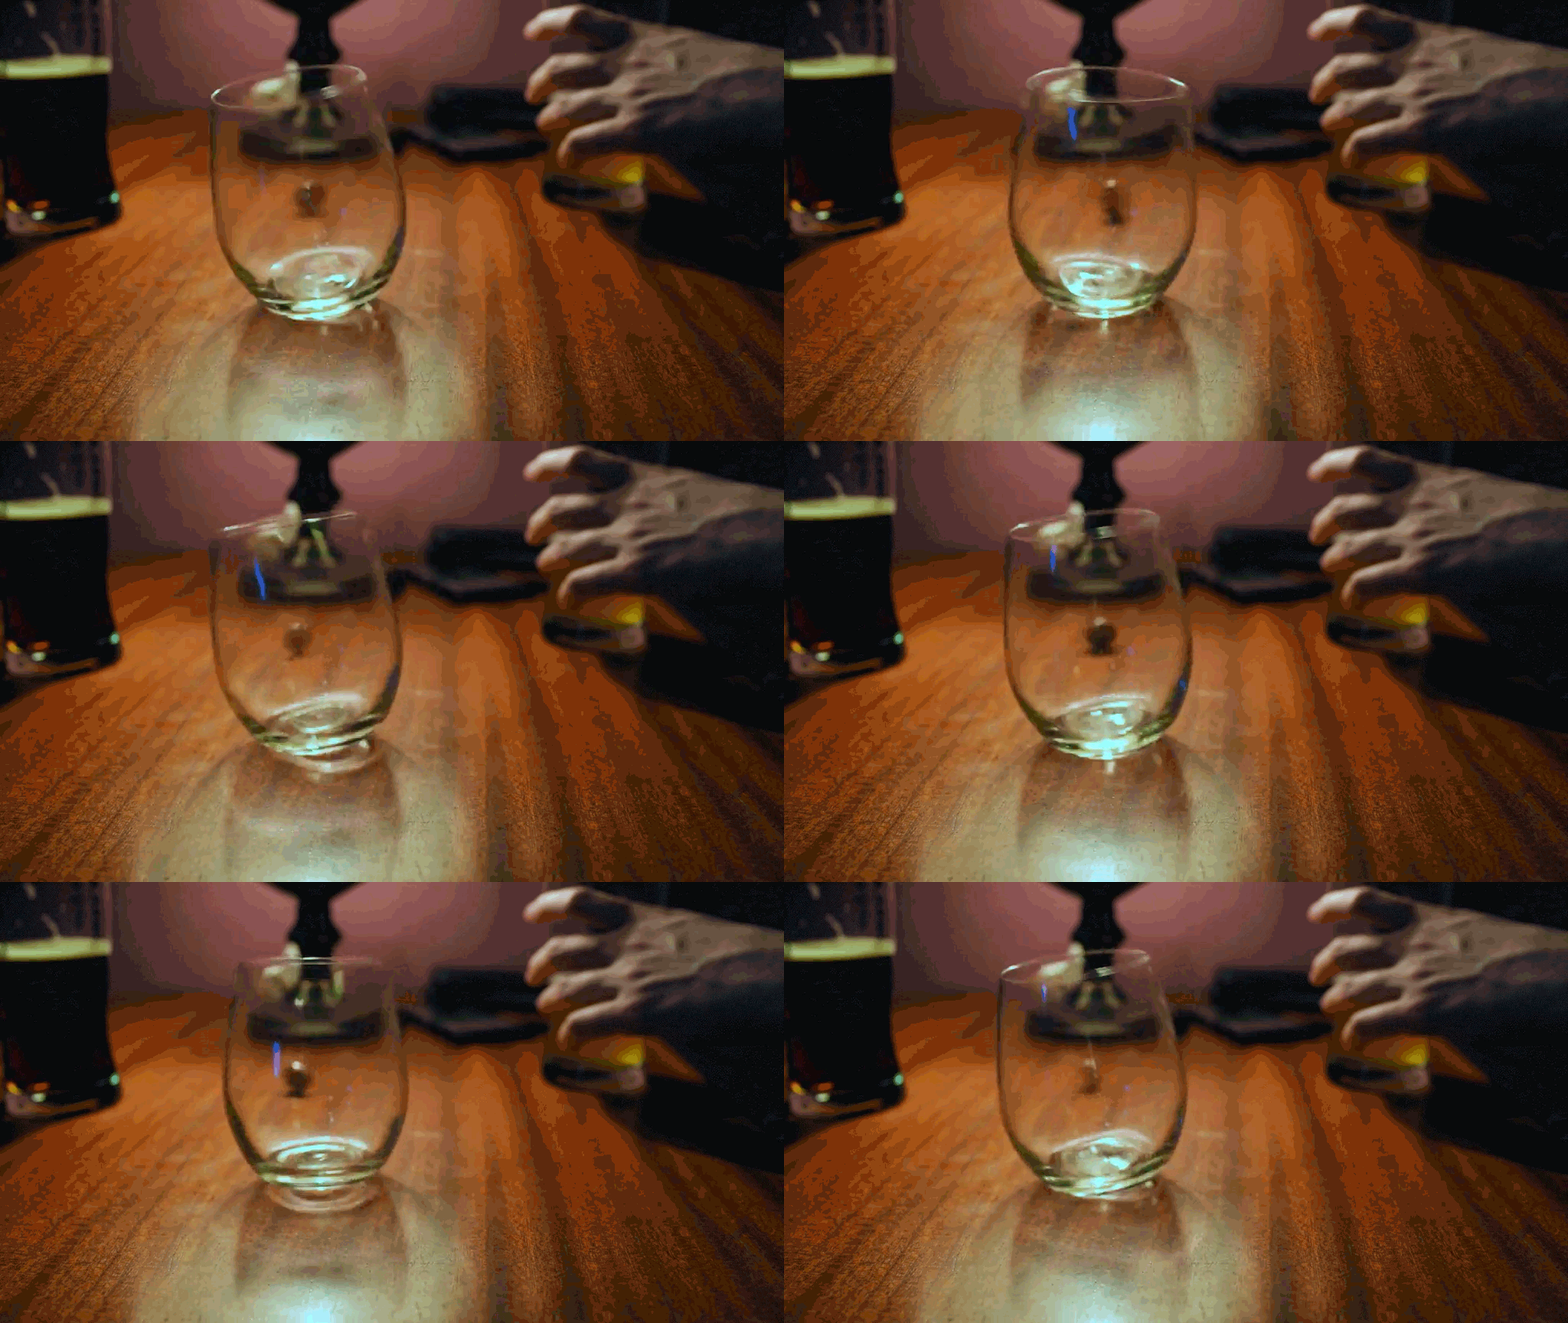
 On Quora.com I came across a thread discussing the most popular cinemagraphs on the web. There were a variety of cinemagraphs on this list that redirected you to Reddit to see the enlarged cinemagraph and viewers comments. Some of the cinemagraphs on this list I saw earlier on fixel.com, but there were a few I was unfamiliar with. In particular the “Empty and Waiting” cinemagraph caught my eye. The quality of the cinemagraph wasn’t the best, but the subject matter and loop was very well executed. Something like a spinning cup (on its side) and a spinning coin (in the background) is a very challenging composure to loop. Since a cinemagraph is usually only a few seconds long and must loop this animation shows that you can create a seamless loop while controlling a physical objects motion. It is apparent that this cinemagraph had to be very well timed and shot in order to make this into a successful cinemagraph. You can check out “Empty and Waiting” by @Lenn_eavy here.
Animation #5 - PHLearn Cinemagraph's
Arron Nace from PHLearn is an excellent teacher. I have watched his YouTube tutorials when I started my education as a graphic designer in college. I stayed pretty up to date with his latest posts over the years, however have not seen any of his tutorials on cinemagraphs. I was thrilled to come across this inspiring video of his on cinemagraphs. The video was very basic, but it outlined all of the important steps from taking footage to exporting your cinemagraph properly in Photoshop. I found that this tutorial was a great piece of inspiration to fall back on if I was experiencing any trouble with my cinemagraph process.
Creating Your Own
#1 - Cinemagraph
For my first cinemagraph I wanted to focus on the foreground, middle ground, background composition without manipulating the cinemagraph like some of the tutorials recommended. I decided to to use Poland Spring water bottles as my subject matter. It was important that I made sure my background was clear of any other objects that would degrade the value of the foreground/background composition I was aiming for. I bought 2 white pieces of poster paper at Michaels to balance lighting and make my subject matter pop off the white poster paper.
Sketching my composition allowed me to experiment with layouts without having to move my subject matter around. (Resulting in dented poster paper or water spills). Due to my sketches I knew exactly where I would position the water bottles. I positioned three in the back out of focus (background) and a glass bowl/water bottle in the front in focus (foreground).
After taking a clean photograph (prior to taking footage) and recording the water pouring into the bowl I was ready to bring my footage on to my laptop. I took a few videos of the composition, so I went through my footage to pick the best one. The forth time I actually got my whole setup wet 🙁 , so I had to replace the white poster paper for my next cinemagraph. 🙂
I imported my footage and photograph into After Effects. Originally I wanted to have the water in motion and the water bottle/glass bowl still, but after playing around with my footage I decided the cinemagraph looked better the other way around. I was surprised since most of the cinemagraph’s using liquids were the other way around. After adjusting the lighting and and using the pen tool to mask the motion I was set.
Taken with Cannon. (Edited in Adobe After Effects.)
Photoshop
#2 - Cinemagraph (Food Levitation)
I chose to do a food levitation for my next cinemagraph. It was definitely a lot more time consuming than the prior cinemagraph. However, editing the footage in Photoshop was some what easier than I expected.
My work is inspired by Vega Bund’s (@Vega.bund) pancake/syrup levitation you can see his in action here and watch how he did it here. For my piece I wanted to do something different than pancakes/syrup. I chose to use strawberries and chocolate syrup. I was slightly concerned that the strawberries might not work as well considering they weren’t as long and flat as the pancakes used in Vega’s cinemagraph. However, aligning the strawberries in my set allowed the chocolate to hold a continuous flow off both strawberries into the yogurt.
Constructing the setup was a bit tricky. I used forks to levitate the strawberries. I inserted the opposite end of the fork into a pile of books I had on both sides of my set. It took some time getting the forks positioned just right to allow the chocolate to run down both strawberries into the yogurt. I was petrified of getting chocolate all over my set (like I previously did with the water on my last cinemagraph), so I focused on making sure the alignment was just right.
I pressed the record button on my camera and got ready to squeeze the chocolate onto the first strawberry. The flow came out rather chunky at first, but then started to hold a better stream. I was relieved that the chocolate smoothly touched both strawberries before going into the yogurt.
After I finished recording my chocolate strawberries I brought my best footage into Photoshop. Photoshop was a great tool for this cinemagraph, because there was a lot of manipulation and improvements to make in my footage.
I used the pen tool in Photoshop outline my subject matter. After outlining the subject matter I pressed the masking button in my layers panel to bring through the photograph I had under my video layer without any props. At first I kept the stream of chocolate coming down in my cinemagraph, but then found that having the stream of chocolate starting from the strawberry gave a better affect and went well with the surreal theme I was going for.
Taken with Cannon. (Edited in Photoshop.)


Drone
#3 - Drone Cinemagraph
On February 10th my friends family went down the shore to take their boat out. They invited my family along with a few friends of theirs. We thought it was going to rain, but the weather turned our pretty nice. I brought my dad’s drone to take footage off the boat for my assignment.
The challenge of this cinemagraph was taking footage of boat without it moving. There always seemed to be some current pushing the boat either forward or backward when we were not moving. I had concerns about the drone being pushed by wind, however the drone was extremely stabilized in the air without moving it. It was surprisingly a great camera to shoot a cinemagraph.
After I uploaded my footage I edited my cinemagraph in Photoshop, since I knew there would need to be additional manipulation done to the video clip. It was important that the loop was clean and consistent. Originally, I planned to only make the water move in this cinemagraph. However, I decided to play around with the other components in the video before settling on my idea. I first started masking the trees, then the water and then the sail. After experimenting with different compositions I felt the best combination was animating the water in front and behind of the sail boat as well as the back sail.
Taken with DJI Mavric Pro. (Edited in Photoshop/AfterEffects/Adobe Encoder.)
Taken with DJI Mavric Pro. (Edited in Photoshop.)
I enjoyed taking footage for my sailing cinemagraph with a drone, so I decided to take one more on an even windier day. I felt like I got better at taking/editing the cinemagraph footage the further I got with my readings and work, so I wanted to play around with a few more ideas I had and techniques I learned. For this cinemagraph I took the footage at Sandy Hook Bay in Atlantic Highlands with the DJI Marvic Pro. I thought this was a good example of how stable the DJI Pro can shoot a cinemagraph on a windy day. I animated the smaller flags and wind anemometer while masking the flag, skies, and waves.
