Module 1 - Animated Storytelling & Basics
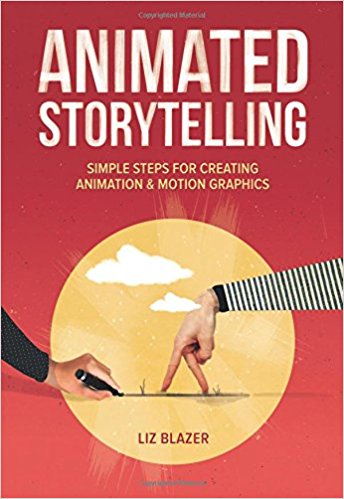
Professor Golden chose a great book for us to read this semester. I was put ease to find “Animated Storytelling” by Liz Blazer was a step-by-step guide into animation and motion graphics. I have to admit I have always struggled to grasp an efficient animation process as a UI / UX Visual Designer. This is mostly because I skipped essential steps during my process or use the wrong tool. Most of the time I find myself spending more time solving the problem and less time aligning my work to a functional workflow. I am really looking forward to learn the steps for a more productive and efficient animation/motion graphic from this semester.
Introduction: Storytelling
Introduction
Liz Blazer’s Introduction focused heavily on the use of storytelling for both animation and motion graphics. Animation is a limitless medium for storytelling and is the key to a successful animation. Liz Blazer’s book will allow us to learn how to create memorable stories using animation and motion graphics following 10 simple guidelines (Concept development, Pre-production, Story-boarding, and Design). It was comforting to read that skilled storytellers specialized in animation are in high demand and their opportunities are expanding. I was excited to read in Liz Blazer’s Introduction that each chapter would end with a short assignment. This will not only increase our animation portfolios, but allow us to physically work with the theory that we learned during the each chapter. It is so important that we reinforce what we read, especially when it comes to animation and motion graphics.
Liz Blazer’s Introduction also discussed the two forms of animation. Liz Blazer made it very easy to understand the difference between animation and motion graphics. She expresses they are two forms of animation that often are treated as if they come from completely different worlds. Animation (for the most part) has been placed into the film making discipline and Motion Graphics has been part of the Graphic Design discipline.
Chapter One
Chapter One: Pre-production
The first chapter of “Animated Storytelling” was both exciting and informative. The chapter was filled with a lot of great tips, explanations and useful examples. Animated storytelling is all about planning. Every animated story should answer three essential questions (What is it?, What does it look like?, and What is it made of?) prior to animating. Liz Blazer explains these three essential questions are answered in Concept Development, Previsualization, and Asset Building.
Concept development brings written/verbal clarity to exactly what you are animating and ultimately shapes your story line. Creating a creative brief is an extremely important task for you to complete during this phase. You will answer questions such as, Who is it for, how long it must be, what is the objective, when is it due etc. This is not only extremely helpful to keep you on track, but also useful for your clients to understand the requirements. Crafting your elevator pitch, tagline, plot and theme are also necessary steps to construct a compelling story.
Previsualization is the next phase in your quest to answer your three big questions. During this phase you will focus on visual development and concept art. Liz Blazer, says “this stage helps define the look and feel of your production of your production before it begins”. All great work derives from inspiration. So, it is important to not only get your inspiration from giphy search but also watch a lot of motion graphics, animated shorts and commercials. Experimenting with design direction to tell your story from your concept development stage is also an essential part of previsulaization.
Asset building is the last phase Liz Blazer touched upon in Chapter 1. This is where all of your pieces come together to form your animation. Liz Blazer references them as, “all the stuff you’ll need to go in there to make the magic happen”. Creating an organized system with well marked files will be an important step during her last phase.
Here’s Liz Blazer’s quick reference when it comes to Pre-production
Pre-production Recap
- Write a creative brief.
- Identify your big idea and create a storyline.
- Develop an elevator pitch and tagline.
- Determine your project’s look and feel through influence and experimenting with design direction.
- Make changes to your story based on design decisions.
- Begin building and organizing your assets.
Animation Inspiration
Ideation Phase
Most of my inspiration during my motion design hunt (aka research to inform segment) was discovered through multiple websites and applications. I found most of my inspiration for this segment on, Dribbble, Instagram and Giphy. I decided to collect inspiration for each of the categories we learned about in Module 1 (Frame by Frame Animation, Stop Motion Animation, Tweening, Onion Skinning with Software, & Animated Gifs). Searching for inspiring animations as well as discovering popular motion artists in this field really opened my eyes. It was great to see first hand what could be accomplished with a range of mediums and software. It was refreshing to further explore one of my favorite motion design artists Jonathan Dahl motion designs during this research to inform segment. Jonathan Dahl has been a big motion design fan of mine for years now.
I love animals, so I was immediately attracted to this fish onion skinning sketch. As you can tell the artist did a excellent job on the anatomy of the fish. It’s realistic anatomy and smooth transition makes this fish come to life right off the paper.
This is one the first stop motion animations I came across during my research phase and also one of my favorites. It is neat to think that a number of photos were combined to create this animated affect. I also like how the artist used her hand in her stop motion animation. The combination of cut out paper and hand movement makes for a successful composition.
The idea of using a wide range of materials to create a stop motion animation has peeked my interest this semester. Origami is such a fun arts and craft activity for both kids and adults. To see the paper come to life to form these delicate figures is such a fascinating site. This was a unique and also enjoyable stop motion animation I discovered.
This frame by frame animation was both inspirational and educational. It helped me form a better understanding of the difference between “tweening” and “frame by frame” animation. I would highly recommend it if you have a hard time understanding the difference between “tweening” and “frame by frame” animation. This little guy is inspirational since it has showed me how much time and effort goes into a clean frame by frame animation.
Animation #5 (Animated Gif)
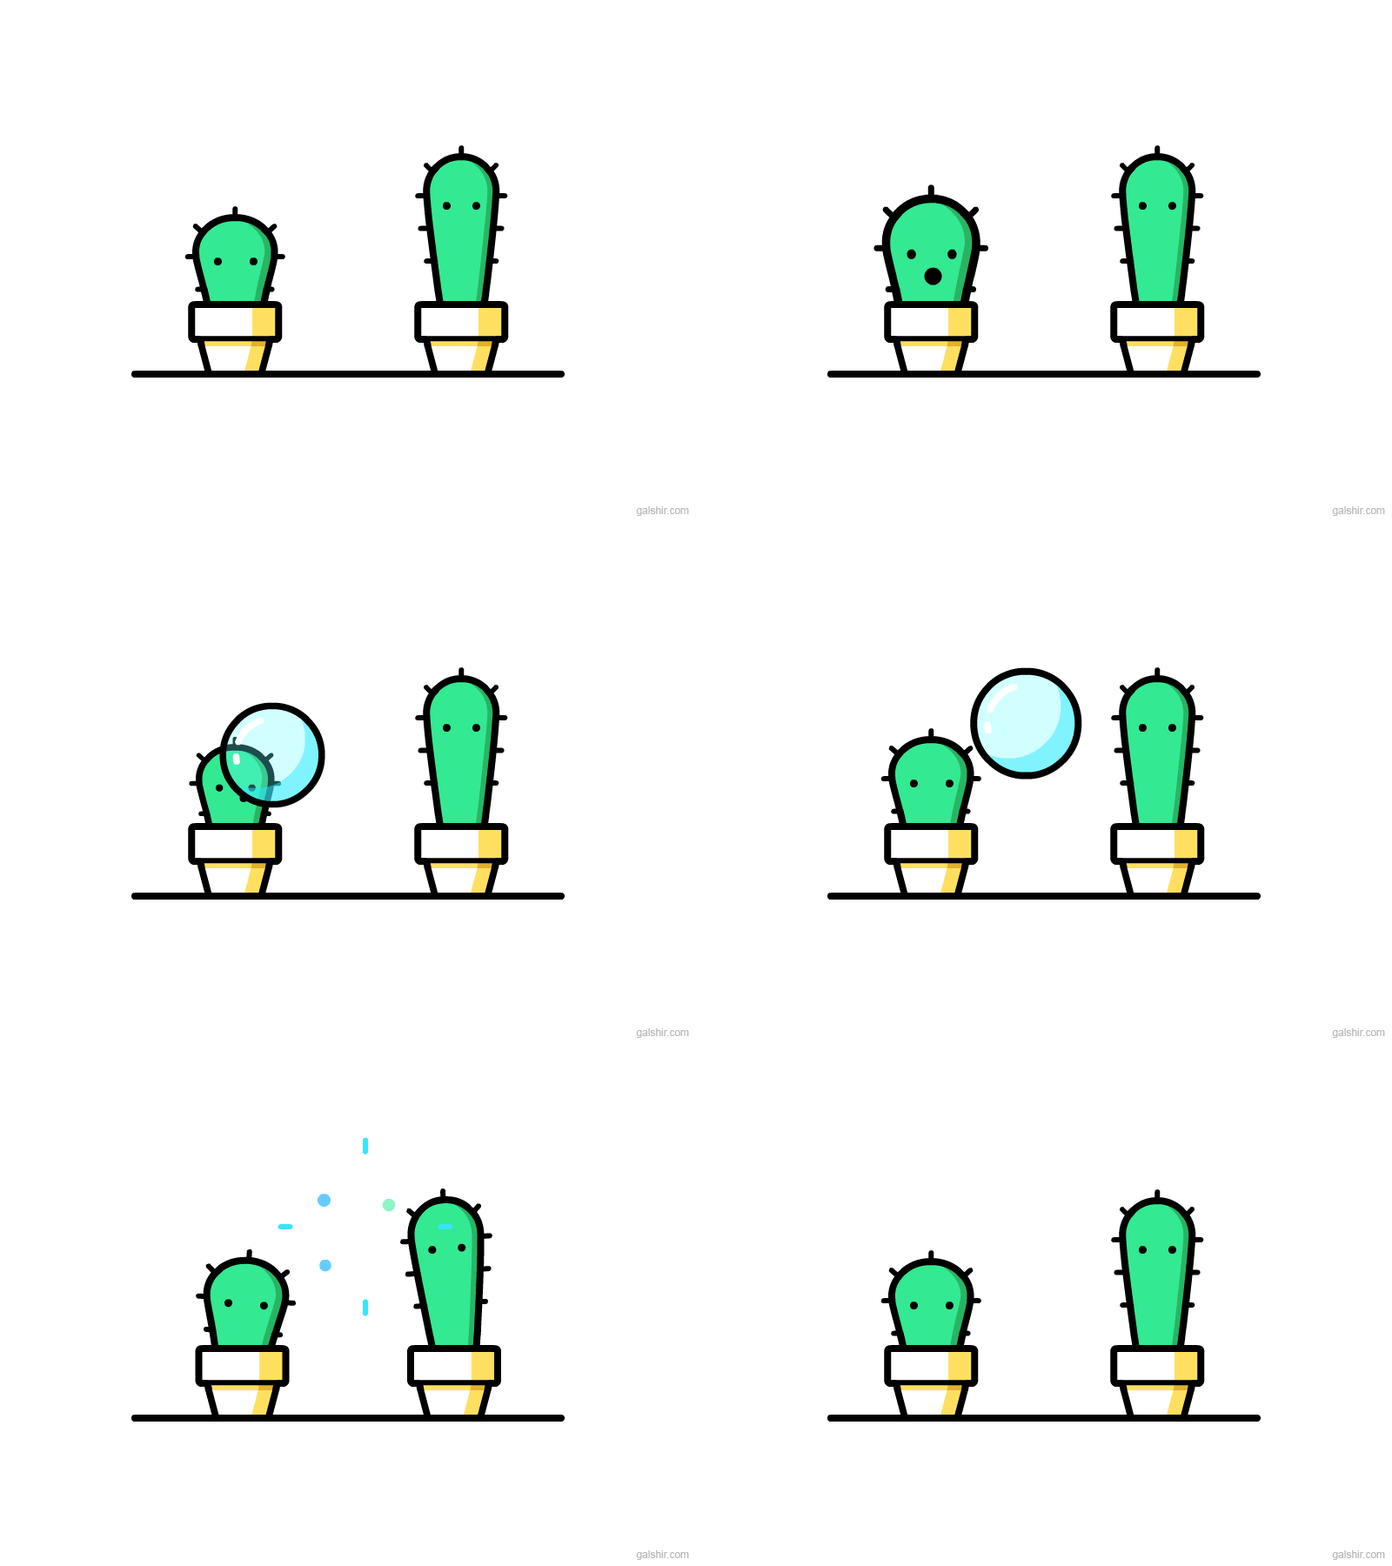
This animated Gif was created by Gal Shir and is called “Cacti”. I like the sense of humor Gal Shir captures in his Cacti gif. You can feel the emotions of the cacti as the bubble hits the side of the cacti ever so slightly. It is evident that Gal used a number of frames to compose his smooth animation. Most of the animated Gifs I discovered were on Dribbble.com.
Animation #6 (Animated Gif)
“Wave AZZL App”
By: Jonathan Dahl

This is one of my many favorite gifs of Johnathan Dahl. He has such an eye for animation. His smooth transitions and use of storytelling catches your eye in this animation. His gifs always seem to be full of life and embody a good sense of humor just like this one does. I also like how the swimming tube around the purple character transforms into the blue character.
“Morphing”
By: Frida Ek
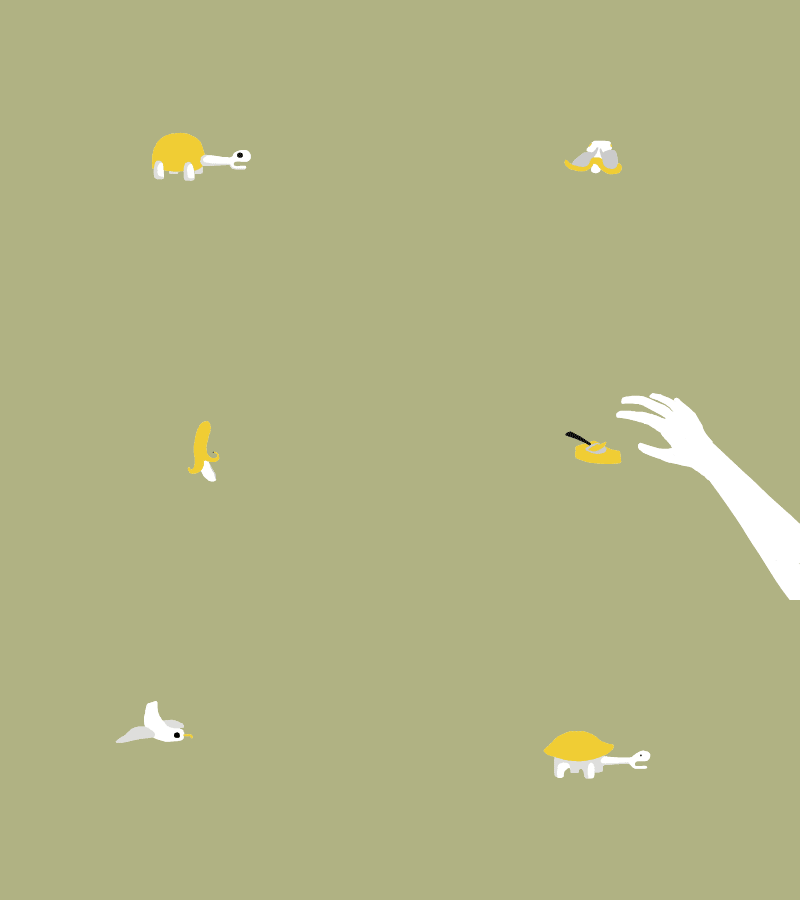
I thought this .gif by Frida Ek was very creative. The idea of morphing objects is such a neat concept. After I found this animation I brought it into Photoshop to see Frida Ek’s individual frames. This was a great way to understand the animated transformation. I feel like this animation is a great representation of what a well-planned out animation looks like. You can take a look at Frida Ek’s work here. Who knew the egg would turn into a glass of wine?
Creating Your Own
#1 - Animated Gif
It’s amazing what you can do with a structured workflow. For this animation I wanted to focus on 3 things. Storytelling, smooth transitions and (unnoticeable) reduced file size.
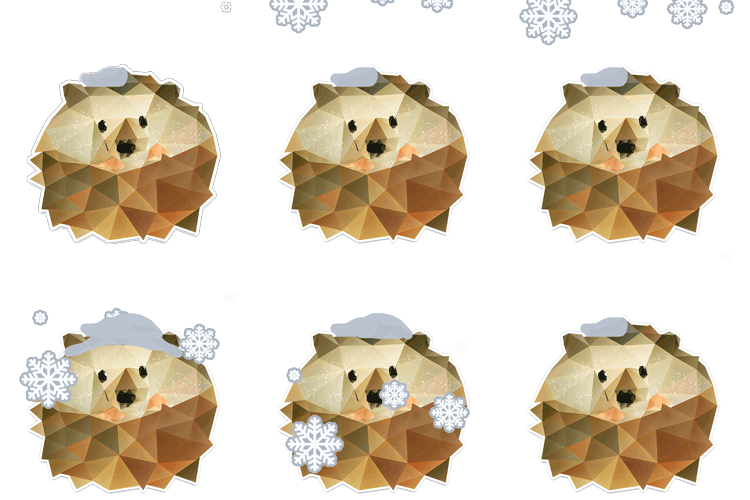
I began by using an hedgehog illustration that is part of my low poly animal collection. You can learn more about my animals here. On a sticky note I jotted down a simple creative brief of what I was trying to accomplish with my animation. Once my creative brief was complete I started to develop a concept and story-line for my hedgehog. It was important to take these steps before before illustrating and animating my hedgehog to ensure for a well-planned animation.
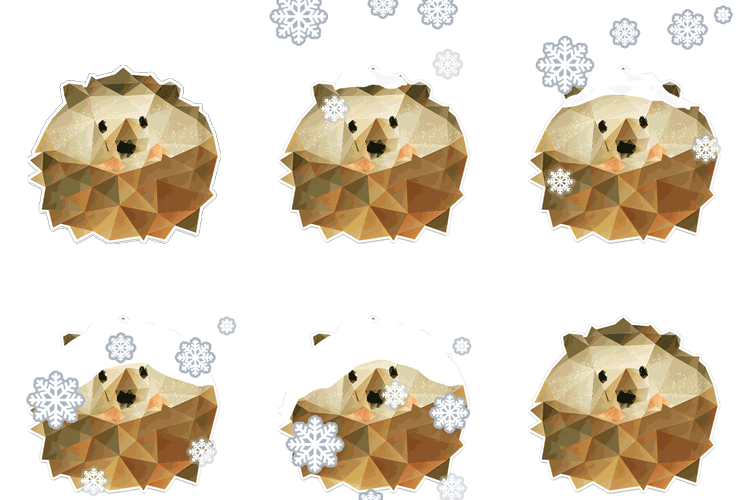
Once I narrowed down my hedgehog concepts during my Pre-production phase, I was ready to bring my story-line to life in Photoshop. It was important to make sure the elements I was animating changed position ever so slightly on each frame. This allowed my animation to smoothly transition the snow falling on the hedgehog.

Onion Skinning
#2 - Onion Skinning
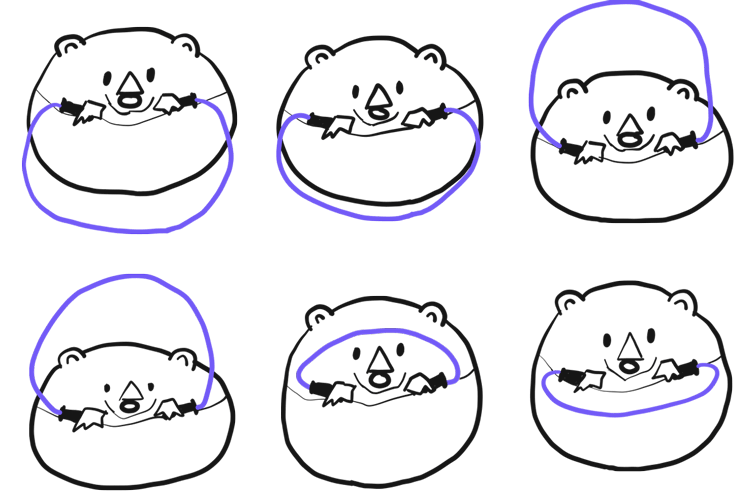
I had a lot of fun with this one and learned a lot. I researched different onion skinning techniques online as well as watched the videos Professor Golden provided us before beginning my animation. I started simple with a circle. As we learned in “Animated Story Telling” every animation starts with the basics. I drew the circles on a sticky note. Each circle slightly changed width and position on each page of my sticky note paper.
Once I completed the bouncing ball on all of the pages on the sticky note, I went back to the pages to improve them. That’s when I had the idea to transform them into something other than a “bouncing ball”. I used my iPad Pro to recreate the drawing of the circle in Adobe Draw with an Apple Pencil. Once I had the ball down I started to reshape it into my hedgehog. I thought it would fun to have him jumping rope. It was very difficult getting the rope down, however the onion skinning technique I was using allowed me to reshape the lines for my hedgehog. Making the rope colored helped me visually distinguish the line of the rope from his body.
Optional Animation
#3 - Optional (Gif)
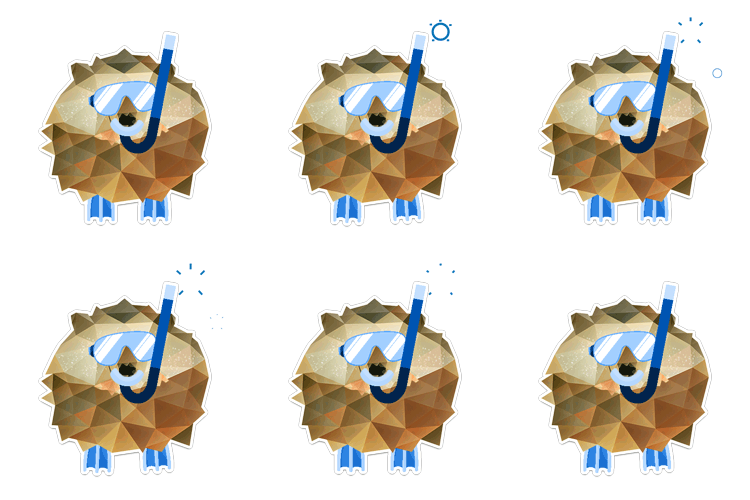
I really enjoyed creating a gif of my hedgehog, so I decided to take on the challenge again. After illustrating the additional elements for my animation in Illustrator I took the components to Photoshop to animate my hedgehog. The hardest part of this animation was animating the bubbles. My first attempt made them appear to be a circle disappearing and reappearing rather than underwater bubbles. After analyzing underwater bubbles and bubbles created with a bubble wand on Google, I was able to sculpt my frames appropriately.
Extra
Just for fun
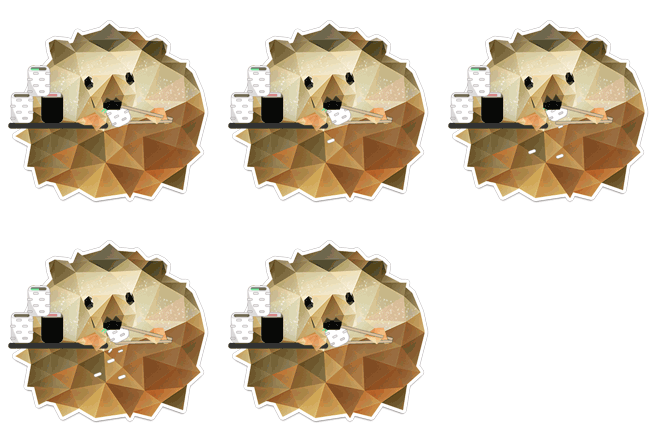
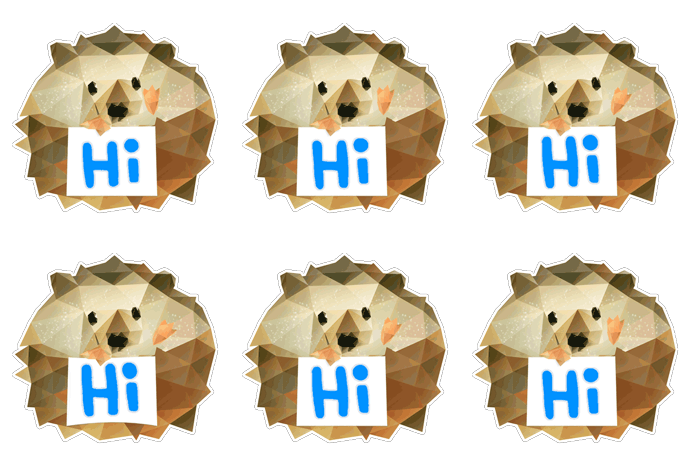
I really enjoyed creating these animations. I decided to make a few more for fun. I think it would be fun to continue my hedgehog animations into a series. If anyone has any future hedgehog animation ideas or recommendations I would love to hear from you. I am currently working on an iMessage Sticker application that I am hoping to use these animations in.
